2. Quick start
If you get stuck...
It is really useful to hear from people who have encountered a problem or got stuck. Hearing from you means we can improve our documentation and error messages.
If you get stuck drop then please drop an email to adam@adamcharnock.com, visit the Lightbus discord server, or call me (Adam) on +442032896620.
The more information you can include the better (problem description, screenshots, and code are all useful)
2.1 Requirements
Before continuing, ensure you have completed the following steps detailed in the installation section:
- Installed Python 3.7 or above
- Installed Lightbus
- Running Redis 5 locally on the default port (6379)
Optionally, you can read some additional explanation in the anatomy lesson section.
2.2 Define your API
First we will define an API for Lightbus to serve. This will be an authentication API and will live in an authentication service.
Create an auth_service directory and within there create
the following in a bus.py file:
# File: auth_service/bus.py
import lightbus

# Create your service's bus client. You can import this elsewere
# in your service's codebase in order to access the bus
bus = lightbus.create()

class AuthApi(lightbus.Api):
    user_registered = lightbus.Event(parameters=('username', 'email'))

    class Meta:
        name = 'auth'

    def check_password(self, username, password):
        return username == 'admin' and password == 'secret'

# Register this API with Lightbus. Lightbus will respond to
# remote procedure calls for registered APIs, as well as allow you
# as the developer to fire events on any registered APIs.
bus.client.register_api(AuthApi())
You should now be able to startup Lightbus as follows:
cd ./auth_service/
lightbus run
Lightbus will output some logging data which will include a list of
registered APIs, including your new auth API:
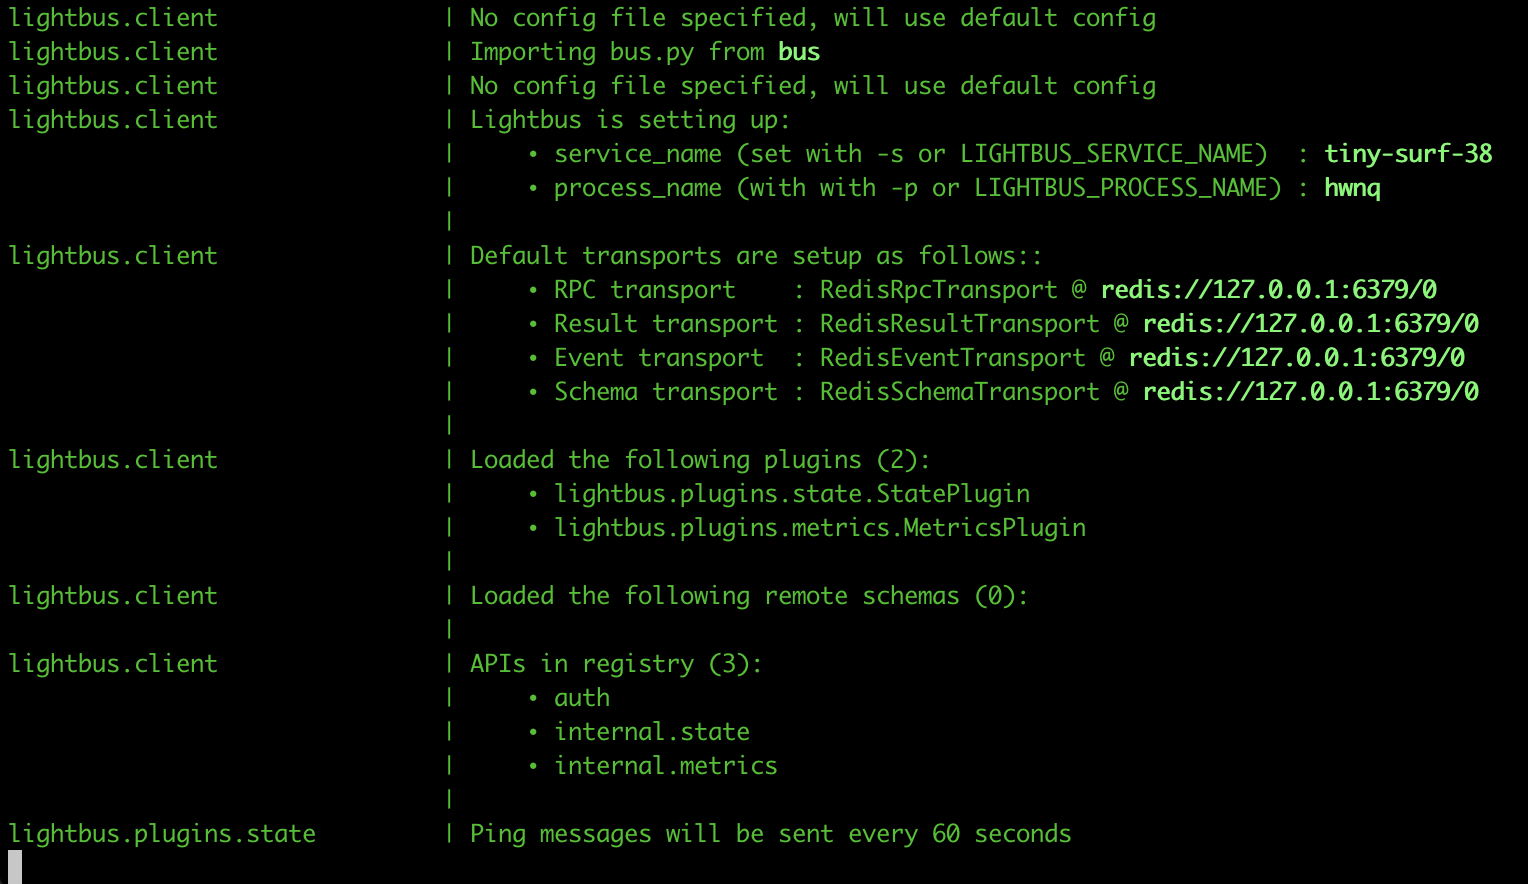
Congratulations, you have now created an authentication service
which contains a single API named auth.
Leave Lightbus running and open a new terminal window for the next stage.
2.3 Remote procedure calls
With Lightbus still running in another terminal window,
create a new directory alongside auth_service
called another_service. This will be an example service which will
interact with the auth service.
You should now have the following structure:
./auth_service/bus.py, created above./another_service/, which we will create files within now.
We always we define a service's bus client within a bus.py file.
Therefore, create ./another_service/bus.py containing the following:
# File: ./another_service/bus.py
import lightbus

bus = lightbus.create()
Now create ./another_service/check_password.py. We will use this
to experiment with making RPC calls:
# File: ./another_service/check_password.py

# Import our service's bus client
from .bus import bus

# Call the check_password() procedure on our auth API
valid = bus.auth.check_password(
    username='admin',
    password='secret'
)

# Show the result
if valid:
    print('Password valid!')
else:
    print('Oops, bad username or password')
Running this script should show you the following:
cd ./another_service/
python3 ./check_password.py
Password valid!
Looking at the other terminal window you have open you should see that Lightbus has also reported that it is handled a remote procedure call.
2.4 Events
Events allow services to broadcast a message to any other services which care to listen. Your service can fire events on any API which has been registered.
We have already created and registered our AuthApi in ./auth_service/bus.py
which provides the user_registered event.
Firing events
Let's write a simple script to manually register users and fire events. Note we can only
fire events for APIs we have registered. We have registered the auth API in auth_service,
so it is within this service that this new script must reside. We could not put the script
within another_service as this service does not include the AuthApi class and can therefore not
register it.
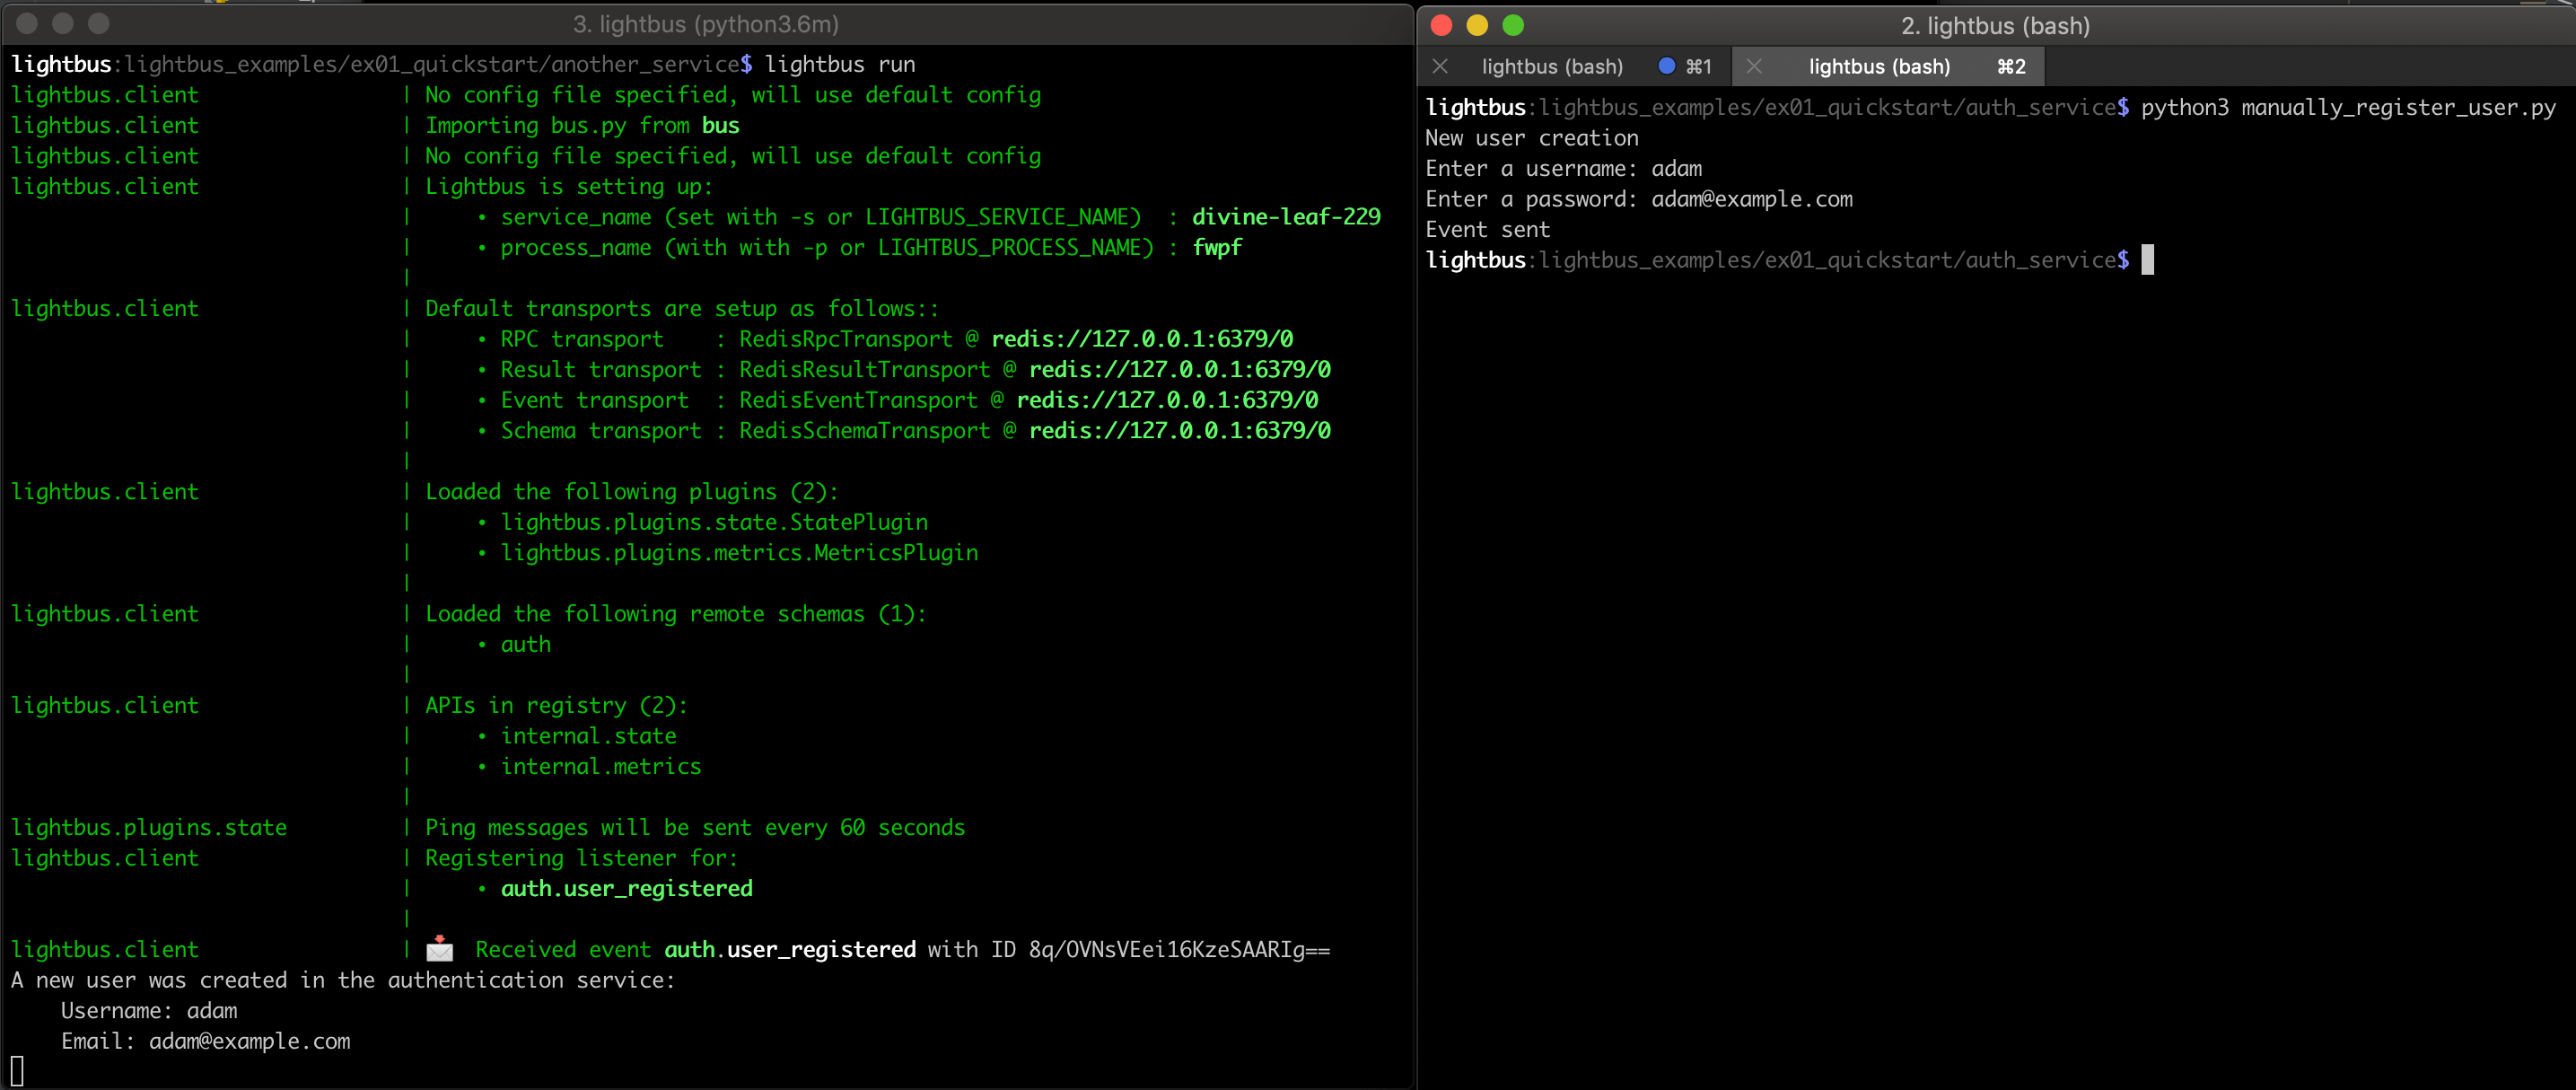
# ./auth_service/manually_register_user.py

# Import the service's bus client from bus.py
from bus import bus

print("New user creation")
new_username = input("Enter a username: ").strip()
new_email = input("Enter the user's email address: ").strip()

# You would normally store the new user in your database
# at this point. We don't show this here for simplicity.

# Let the bus know a user has been registered by firing the event
bus.auth.user_registered.fire(
    username=new_username,
    email=new_email
)

print("Done")
Run this script using:
cd ./auth_service/
python3 manually_register_user.py
You should be prompted for a new username & email address, at which point an event will be fired onto the bus. We will make use of this event in the next section.
Listening for events
Perhaps another_service needs to be notified when a user is created. To achieve this
we can setup an event listener by modifying ./another_service/bus.py:
# File: ./another_service/bus.py
import lightbus

bus = lightbus.create()

def handle_new_user(event, username, email):
    print(f"A new user was created in the authentication service:")
    print(f"    Username: {username}")
    print(f"    Email: {email}")


@bus.client.on_start()
def bus_start():
    bus.auth.user_registered.listen(
        handle_new_user,
        listener_name="print_on_new_registration"
    )
Listening for events requires your service to sit waiting for something to
happen. Sitting around and waiting for something to happen is precisely
what the lightbus run console command is for.
Therefore, in one terminal window startup the lightbus run command for
another_service:
# In the first terminal window:
cd ./another_service/
lightbus run
Your service is now waiting for events.
In the second terminal window let's cause an event to be fired using the script we wrote in the previous section:
cd ./auth_service/
python3 manually_register_user.py
You should see that the event gets sent by the manually_register_user.py script within the
auth_service, and received by by the lightbus run process within the another_service.
Listener names
You may have noticed we specified the listener_name parameter in the above example,
and we set it to an arbitrary value of "print_on_new_registration". This is important, because Lightbus tracks
which listeners have received which events. It is this listener name which is used to
uniquely identify each listener. You don't need to worry about this often, just follow the rule:
Ensure you specify a unique listener_name every time you setup a new listener.
The listener name should be unique within the service. Two listeners with the same name will only receive a partial set of events each.
2.5 Next
This was a simple example to get you started. The worked example considers a more realistic scenario involving multiple services.