3. Worked example
If you get stuck...
It is really useful to hear from people who have encountered a problem or got stuck. Hearing from you means we can improve our documentation and error messages.
If you get stuck drop then please drop an email to adam@adamcharnock.com, visit the Lightbus discord server, or call me (Adam) on +442032896620.
The more information you can include the better (problem description, screenshots, and code are all useful)
In the following worked example we will create three services:
- An image resizing service
- An online store
- A stats dashboard
This will involve a combination of web interfaces (using Flask), and Lightbus APIs. The goal is to show how Lightbus can allow multiple services to interact.
3.1. Getting started
The code created here can be found in Lightbus example ex03_worked_example, although
the code will be repeated below. There is a directory for each service we will
create – store/, dashboard/, and image/.
Before continuing ensure you have installed flask and honcho:
pip3 install flask honcho
A passing familiarity with Flask may be useful, but is not required. Honcho will assist us in running the various processes required for our services.
We will assume you have already read and completed the installation and quick start tutorials.
3.2. Image resizing service
The image resizing service will be a simple Lightbus API, the purpose of which is to allow our store to resize images prior to display:
# File: ./image/bus.py
import lightbus

class ImageApi(lightbus.Api):

    class Meta:
        name = 'image'

    def resize(self, url, width, height):
        # This is a demo, so just return an animal picture of the correct size
        return f'https://placeimg.com/{width}/{height}/animals?_={url}'

bus = lightbus.create()
bus.client.register_api(ImageApi)
There is no web interface for this service, so this is all we need.
3.3. Store service
Our store will have both a Lightbus API and a web interface. We'll start with the API first:
# File: ./store/bus.py
import lightbus

class StoreApi(lightbus.Api):
    page_viewed = lightbus.Event(parameters=('url', ))

    class Meta:
        name = 'store'

bus = lightbus.create()
bus.client.register_api(StoreApi)
This API has a single event called page_viewed. The store web interface will fire this
event whenever a page is viewed.
Our store web interface uses Flask and is a little longer:
# File: ./store/web.py
import lightbus
from flask import Flask

# Import our bus client
from .bus import bus

# Setup flask
app = Flask(__name__)

# A dummy list of pets our store will sell
PETS = (
    'http://store.company.com/image1.jpg',
    'http://store.company.com/image2.jpg',
    'http://store.company.com/image3.jpg',
)

@app.route('/')
def home():
    # A view to list all available pets
    html = '<h1>Online pet store</h1><br>'

    for pet_num, image_url in enumerate(PETS):
        # Get an image of the appropriate size
        resized_url = bus.image.resize(url=image_url, width=200, height=200)
        html += (
            f'<a href="/pet/{pet_num}">'
            f'<img src="{resized_url}">'
            f'</a> '
        )

    # Fire the page view
    bus.store.page_viewed.fire(url='/')

    return html

@app.route('/pet/<int:pet_num>')
def pet(pet_num):
    # Show an individual pet
    resized_url = bus.image.resize(url=PETS[pet_num], width=200, height=200)

    # Fire the page view
    bus.store.page_viewed.fire(url=f'/pet/{pet_num}')

    html = f'<h1>Pet {pet_num}</h1>'
    html = f'<img src="{resized_url}"><br />'
    return html
3.4. Interlude: give it a go
We're not quite done yet, but you can now startup the necessary processes and see the store. You will need to run each of these in a separate terminal window:
$ ls
image/       store/

# Start our image resizing service
$ lightbus run --bus=image.bus

# Start our store's web interface
$ FLASK_APP=store/web.py flask run --port=5001
Now open 127.0.0.1:5001 in your browser and you should see three animal pictures awaiting you. The URL for each image was fetched from the image resizing service.
The flask web interface should also have some logging output akin to the following:

Here you can see:
image.resizewas called three times, once for each image- The
store.page_viewedevent was fired
Next we will create the dashboard which will make use of the store.page_viewed event.
3.5. Dashboard service
The dashboard service will provide internal reporting in the form of page view statistics for the online store.
There dashboard will need to both receive events and provide a web interface. It will therefore need both a lightbus process and a web process.
Fist we will start with the bus.py file:
# File: ./dashboard/bus.py
import json
import lightbus

bus = lightbus.client()
page_views = {}

def handle_page_view(event_message, url):
    # Record the page view in our page_views dictionary
    page_views.setdefault(url, 0)
    page_views[url] += 1

    # Store the dictionary on disk
    # (In reality you would probably use an external database)
    with open('/tmp/.dashboard.db.json', 'w') as f:
        json.dump(page_views, f)

@bus.client.on_start()
def on_start(**kwargs):
    # Called when lightbus starts up
    bus.store.page_viewed.listen(handle_page_view)
This is a simple listener for the bus.store.page_viewed event. This event is fired by the
store's web interface we created above.
Note we do not define any APIs, instead we setup our event listener once the bus client has started up. Listening for this event is all the dashboard's Lightbus process will do, it will not provide any APIs.
The handle_page_view() handler persists each view to the Dashboard services' local database.
In a real service this would likely be a DBMS of some form (Postgres, MySQL,
Redis, Mongo etc). For simplicity we just store JSON to a file.
Now we'll define our dashboard's web interface:
# File: ./dashboard/web.py
import json
from flask import Flask

app = Flask(__name__)

@app.route('/')
def home():
    html = '<h1>Dashboard</h1>\n'
    html = '<p>Total store views</p>\n'

    with open('/tmp/.dashboard.db.json', 'r') as f:
        page_views = json.load(f)

    html += '<ul>'
    for url, total_views in page_views.items():
        html += f'<li>URL <code>{url}</code>: {total_views}</li>'
    html += '</ul>'

    return html
This reads the JSON data that was written by the event listener in dashboard/bus.py above,
then render it to HTML.
3.7. Run it!
You should now have the following python files:
./image/bus.py ./store/bus.py ./store/web.py ./dashboard/bus.py ./dashboard/web.py
This translates into the following processes:
| Service | Process type | Purpose |
|---|---|---|
| Image reszier | Lightbus | Will resize images and return a new URL |
| Store | Web | Render the store UI. Use bus to resize image and fire events |
While the store does have a bus.py, it does not have any RPCs to serve or events to listen for. We therefore do not need to run a lightbus service. |
||
| Dashboard | Web | Render the dashboard web UI, read data from database |
| Dashboard | Lightbus | Listen for page view events and store stats to database |
You can run each of these as follows:
$ ls
dashboard/    image/    store/

# Image resizer (Lightbus)
$ lightbus run --bus=image.bus

# Store (Web)
$ FLASK_APP=store/web.py flask run --port=5001

# Dashboard (Web + Lightbus)
$ lightbus run --bus=dashboard.bus
$ FLASK_APP=dashboard/web.py flask run --port=5000
However, you may find it easier to startup these processes
with the honcho tool we installed earlier. First, create
a file called Procfile:
# Procfile
image_resizer_bus: lightbus run --bus=image.bus
store_web:         FLASK_APP=store/web.py flask run --port=5001
dashboard_bus:     lightbus run --bus=dashboard.bus
dashboard_web:     FLASK_APP=dashboard/web.py flask run --port=5000
And now use honcho to startup all the processes together:
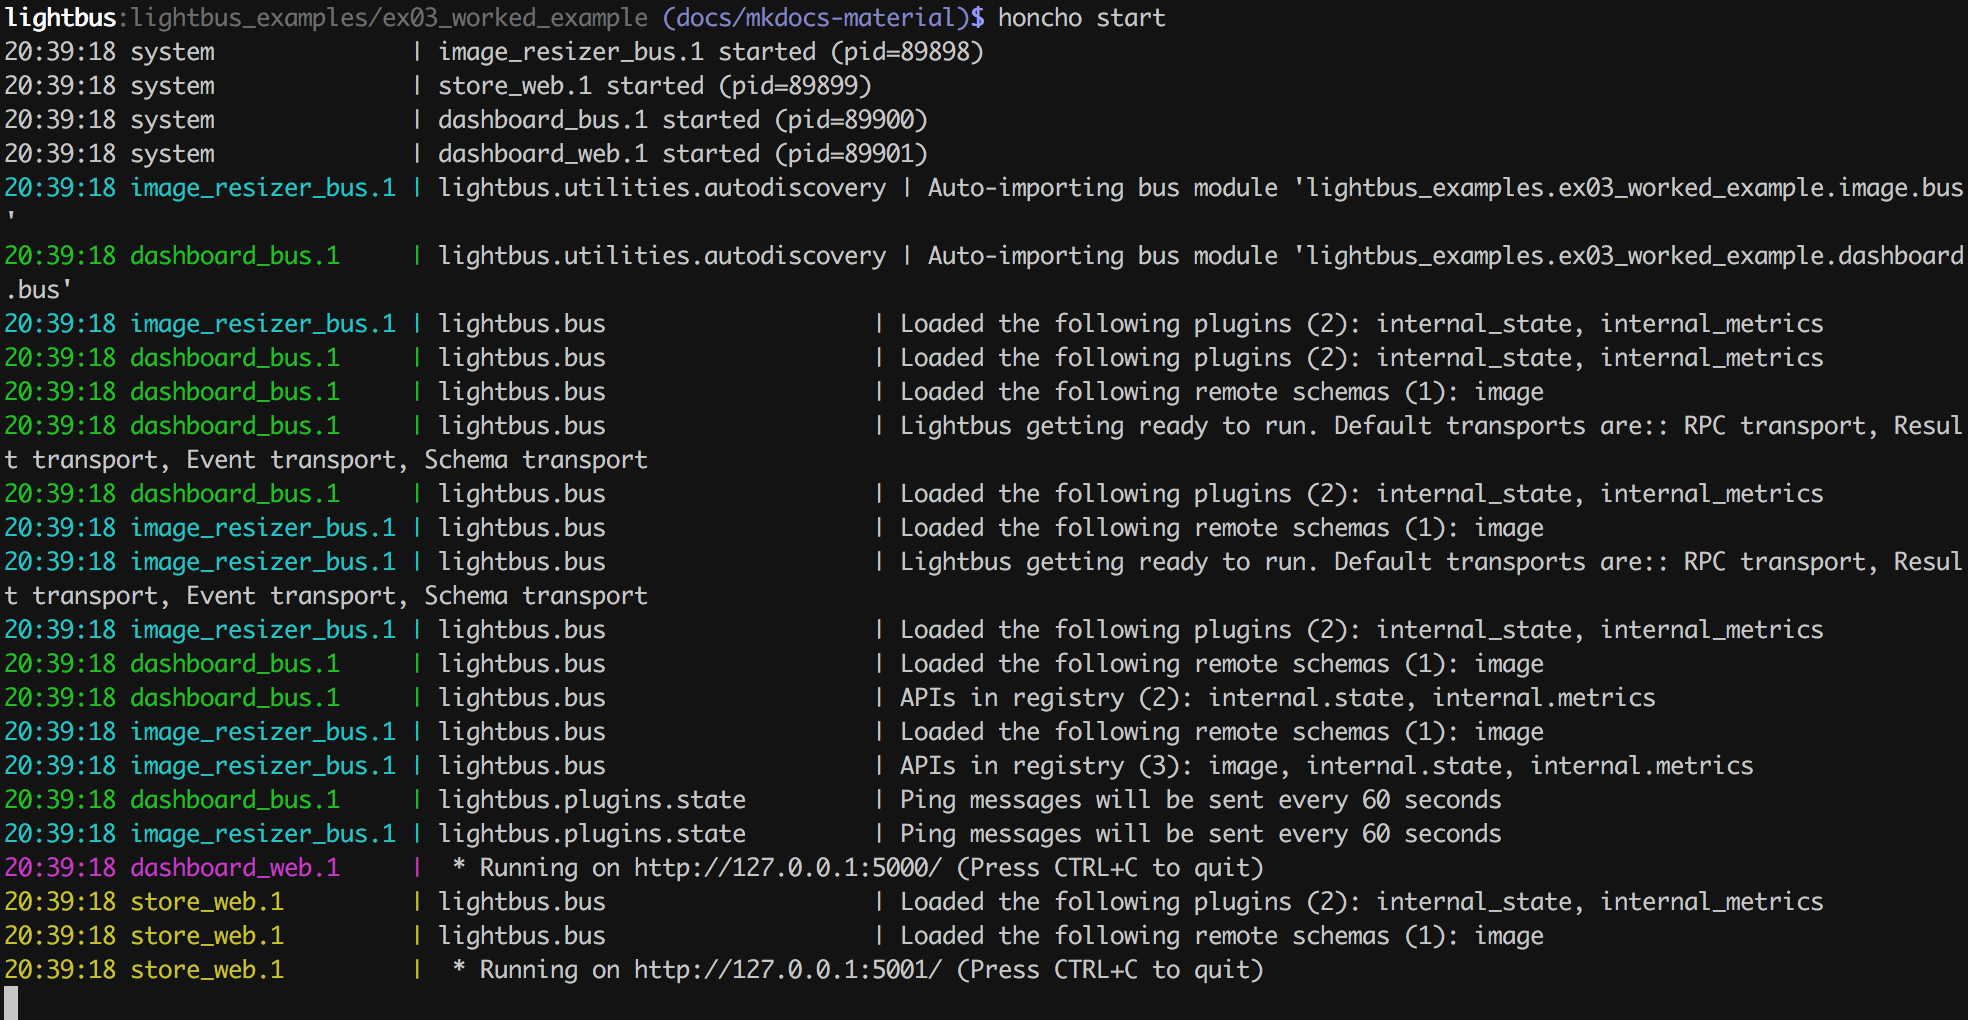
$ ls
Procfile    dashboard/    image/    store/

$ honcho start
If you see an error stating command not found, ensure you installed honcho as
detailed above (pip3 install honcho).
Once started, see the output for any errors. Each log line will state the process it came from. If all is well, you should see something like this:
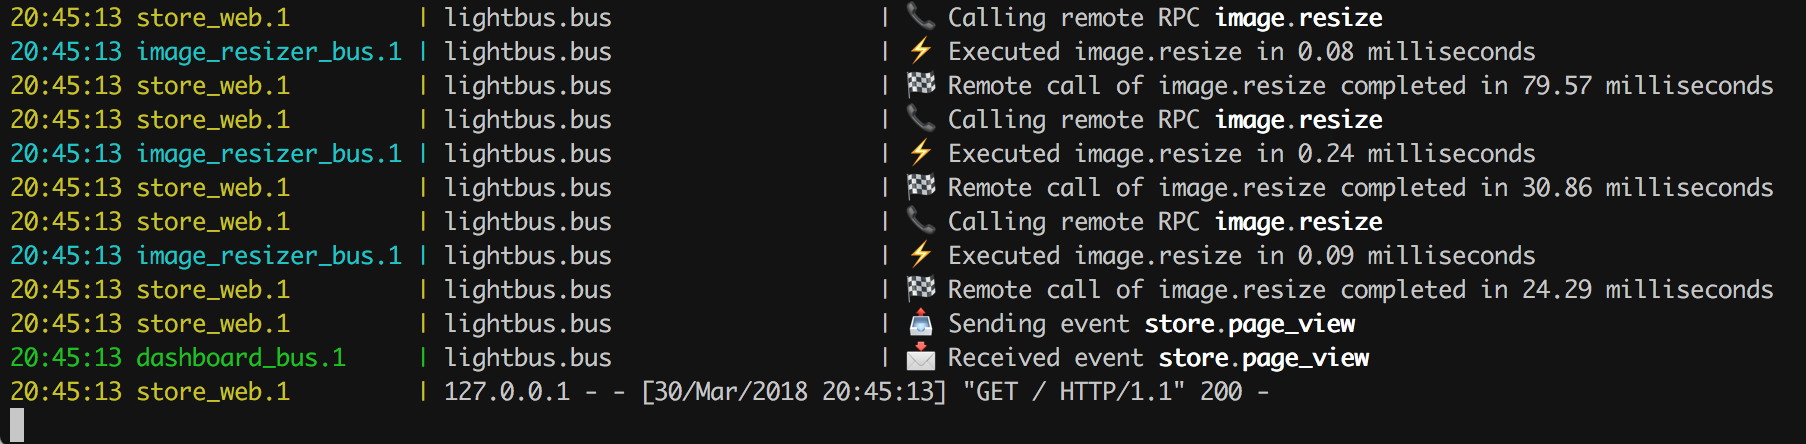
You should now be able to access the store's web interface at 127.0.0.1:5001 as you did previously.
Upon viewing the page, the following will happen:
- The store web process will resize each image using the image resizing service
- The store web service will fire the
store.page_viewedevent. - The dashboard will receive the
store.page_viewedevent and create the database for the first time.
The logging output should reflect this:
At this point you can view the dashboard at 127.0.0.1:5000. Note that opening the dashboard before this point would have resulted in an error as the database would not have been created.
The dashboard should show a simple list of URLs plus the total number of page views for each. Go back to the store and view a few pages. Now refresh the dashboard and note the new data.
3.7. Wrapping up
While the services we have have created here are very crude, hopefully they have helped show how Lightbus can be used as a effective communications infrastructure.
If you want to continue with practical learning, you should take a look at the How to or Reference sections. To learn more about the underlying concepts you should explore the Explanation section.